
Speed Academy's E46 M3 Build, Episode 2: A 2JZ Heart and a Lot of Headaches
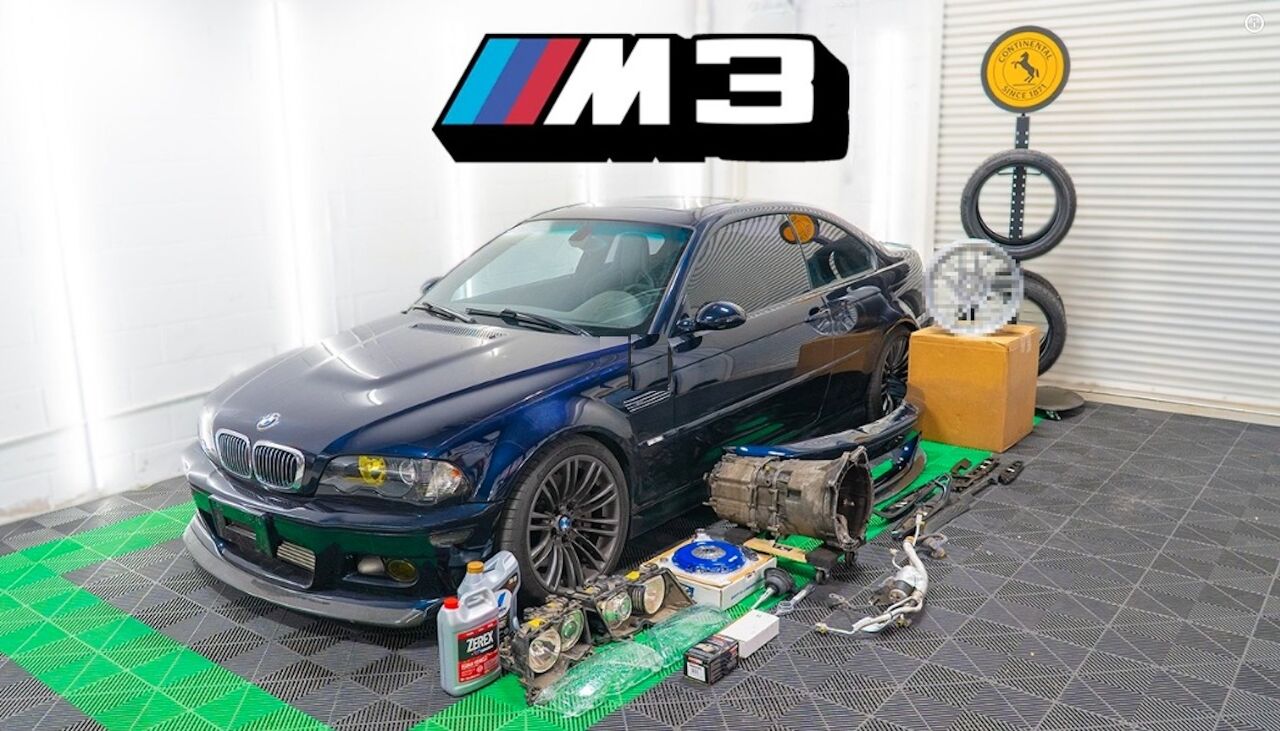
Swapping a Toyota 2JZ into a BMW E46 M3 sounds like a dream on paper. In practice, it is a long parade of small, stubborn problems — and Speed Academy’s second build episode makes that abundantly clear.
The latest installment of the TTAC Creators Series project focuses on tidying up the details: finishing a custom shift linkage, quieting a set of StopTech brakes, fabricating air-conditioning lines, repairing heat-damaged turbo plumbing, swapping fuel injectors, and test-fitting a CSL-style front bumper.
Small Parts, Real Frustration
The shifter linkage is done, welded up with a double-shear shift rod, though the builder still wants to swap the knob for one wearing the BMW M logo. The brakes needed more thought. The two-piece StopTech rotors are a floating design, which allows movement between the rotor ring and its hat to handle thermal expansion and reduce knockback — but on a street car, that same movement rattles.
A set of conical washers and hardware from Mountain Pass Performance converts them to a fixed setup. Racing pads out, StopTech sport pads in. One catch: StopTech is out of business, so replacement pads may get scarce down the line.
Headlights were supposed to be simple. They were not. Units from a non-M3 E46 turn out to be incompatible — the ballast mounting, projector construction, and high-beam housings all differ from the M3 pieces, so a proper matching set has to be sourced.
Engineering Around a Foreign Engine
The core problem: the BMW’s factory A/C compressor sat on the passenger side, the 2JZ’s lives on the driver’s side — so the original lines are useless as-is.
Custom plumbing followed. After measuring the originals and pulling the crimped fittings, the host found that hose diameters differed internally even where the fittings looked compatible. A trip to a hydraulic supply store produced the transition fittings needed to marry BMW lines to the 2JZ compressor, and the finished lines route neatly beneath the engine area rather than looping around the front of the bay. Heat sleeve goes on where the exhaust and turbo sit close.
That proximity had already caused damage. The turbo’s rubber coolant hose had gone brittle and cracked from heat, and several bolts holding the turbine housing had worked loose — one backed out far enough to possibly explain a sputtering noise noted earlier. A replacement line with a tighter forged fitting from Vibrant and braided hose went in, wrapped in protective sleeve.
Chasing a Flat Spot
Vacuum lines got shortened and rerouted to the boost controller, and the host flagged that older hoses were starting to deteriorate even without splitting. His rule of thumb: inspect and replace vacuum lines about every five years on a turbo setup, since leaks can contribute to overboost trouble.
The bigger drivability complaint is a bog between roughly 1,000 and 2,000 rpm at light throttle. A previous tuner tried to fix it in software and couldn’t, pointing toward the injectors. Out go the 1,200-cc units; in goes a set of Injector Dynamics ID1050-X injectors. Fitting them means lifting the fuel rail without pulling the upper intake manifold, dealing with different injector dimensions, and swapping incompatible electrical connectors. Radium Engineering fuel-rail mounting stands solve the height issue.
None of it is glamorous. But this is what a serious engine swap actually looks like — one fitting, one connector, one heat-worn hose at a time.
Source: The Truth About Cars
What do you think?