
Dented Brightwork? Here's How Classic Trim Panels Get Brought Back to Life
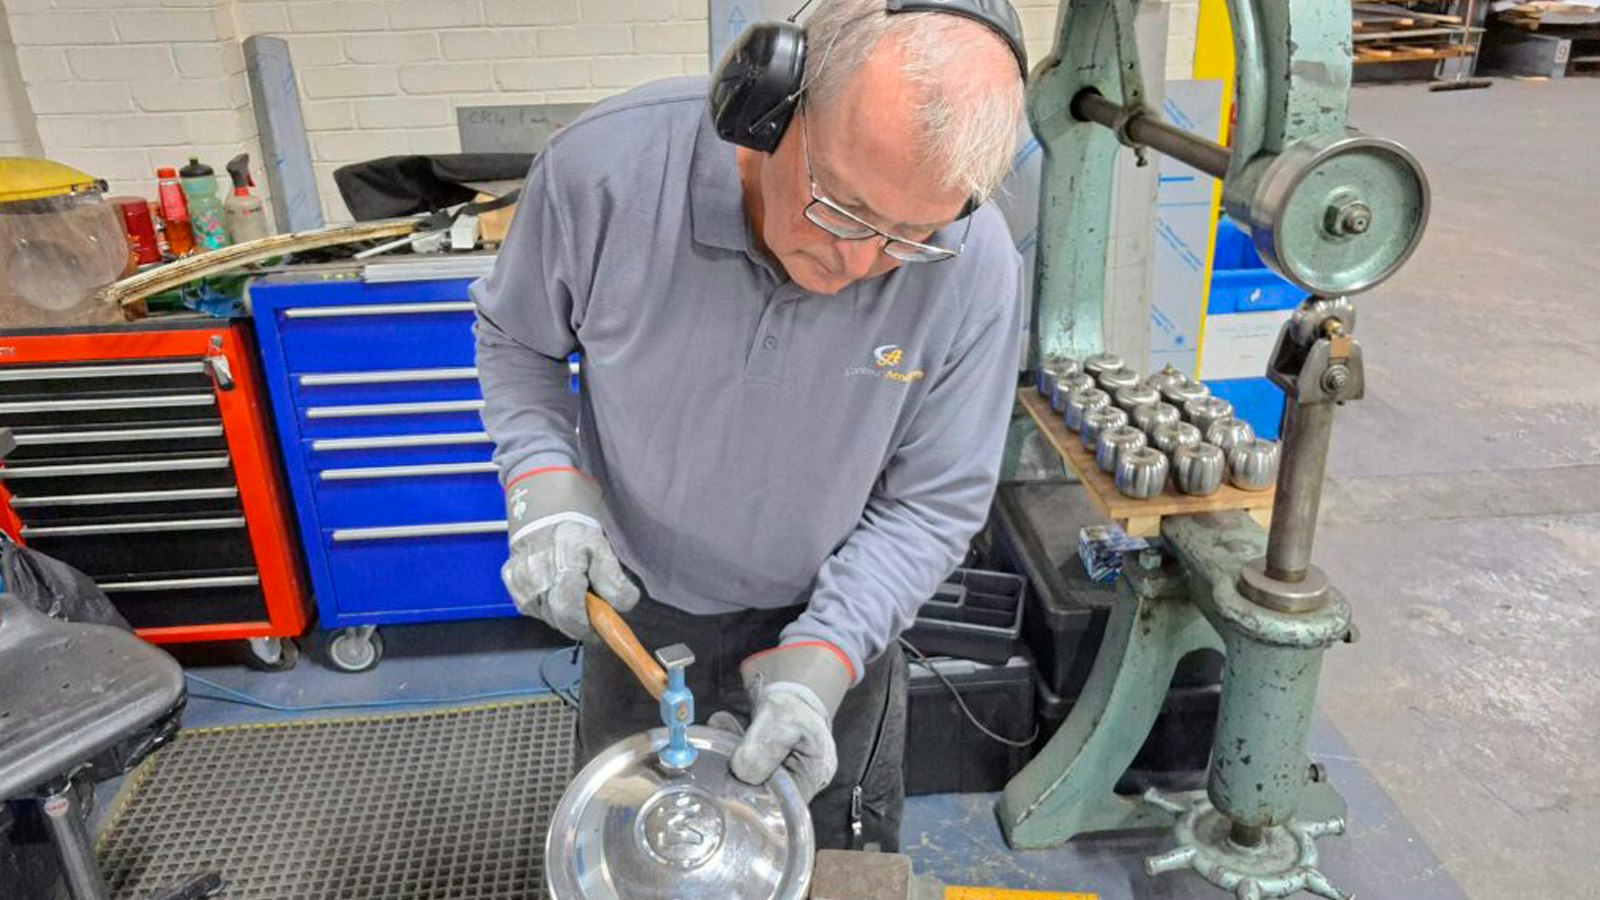
Bent and dented trim is one of the more frustrating bills in classic car ownership — and, according to trim specialist Bruce Macleod, one of the most avoidable. His verdict is blunt: most damaged brightwork can be straightened with nothing more exotic than a few adapted hand tools and a patient pair of hands.
The material matters enormously. Trim panels turn up in aluminium alloy, chromium-plated brass or steel, and stainless steel, and each one demands a different approach depending on how hard the metal is and how much the finished surface needs protecting. Get that wrong and you’ll spend more time polishing out your own mistakes than fixing the original damage.
Clean first, hammer second
Macleod’s first instruction is the least glamorous: don’t touch the panel until it is spotless, inside and out. Paint, underseal, dirt and debris left on the surface will wreck the finish once tools start moving.
His second warning is aimed squarely at beginners. It’s not just the face of the hammer that needs to be flawless — whatever the panel is resting on matters just as much. A careless backing surface is a classic route to fresh dents and scratches.
The golden rule: always pick a hammer and dolly with a slightly smaller radius than the curve of the panel you’re working on.
Three panels, three methods
Macleod walks through repairs on a stainless steel hubcap, an aluminium alloy trim section and a chromium-plated headlamp rim, and the differences are instructive.
- Stainless hubcap: a crease had distorted the central motif. He knocked out the bulk of the dent with a curved-face hammer, then chased around the raised boss with a reground chisel and a plastic mallet, working into a sandbag.
- Aluminium ‘D’ section: a deep indent with sharp gouges, complicated by a channel on the reverse. A modified brickwork chisel matched the internal moulding, and the spread channel was closed by hammering the edge back onto the chaser.
- Chromium-plated rim: small dents, but plating to protect. Gentle blows against plywood, then planishing over an old hammer head ground to suit the rim’s internal curves. Dents usually come out without harming the chrome — deep scratches and gouges are a far thornier problem.
The tool bench is a scrap pile in disguise
Much of Macleod’s method comes down to improvisation. Old chisels get reground into chasers shaped to fit a specific moulding. Worn hammer heads become dollies once a grinder has reshaped them. Wooden and plastic lead dressers are ideal for softer aluminium.
His point about quantity is well made — you can never own too many dollies or chasers, because no two panels throw up the same curves. A stool at the bench, meanwhile, saves the back on long jobs.
For finishing, a fleece-type sanding disc in a small pneumatic die grinder takes out scratches on aluminium, followed by a suitable polishing compound. On plated parts, a careful polish is usually enough to reveal any remaining low spots before you call the job done.
None of this replaces a proper chrome plater for serious pitting. But for the everyday dings that accumulate over decades, the message is clear: reach for the hammer before the credit card.
Photo: Practical Classics · Official Press Kit / Editorial (Editorial / Press Kit)
Source: Practical Classics
What do you think?